NAS (TrueNAS Scale)
A NAS (Network Attached Storage) is a storage device connected to a network, allowing multiple users and devices to access, store, and manage files in one central location, similar to a private cloud.
I needed a NAS because my storage needs were exceeding our family’s 2TB Google cloud plan, which costs $99 per year. While that may seem like a lot to some, it hasn’t been enough for our household. We constantly had to review and delete files, which was time-consuming and frustrating, especially for my parents who wanted to keep everything. Temporarily, I stored files on my computer, but that wasn’t a long-term solution.
After some research, I had two options: buy a ready-to-use NAS or set it up myself. I chose to set it up myself because it’s more affordable and provides a hands-on learning experience. I found TrueNAS, which offers Scale and Core. Core works perfectly for basic NAS functionality with slightly better performance, but I had additional plans, so I opted for TrueNAS Scale. Alongside the NAS, I also set up a Plex server to stream media for our family.
Project Timeline
Started: July 2023 (Hardware complete). Finished: February 2024 (Fully configured & operational).
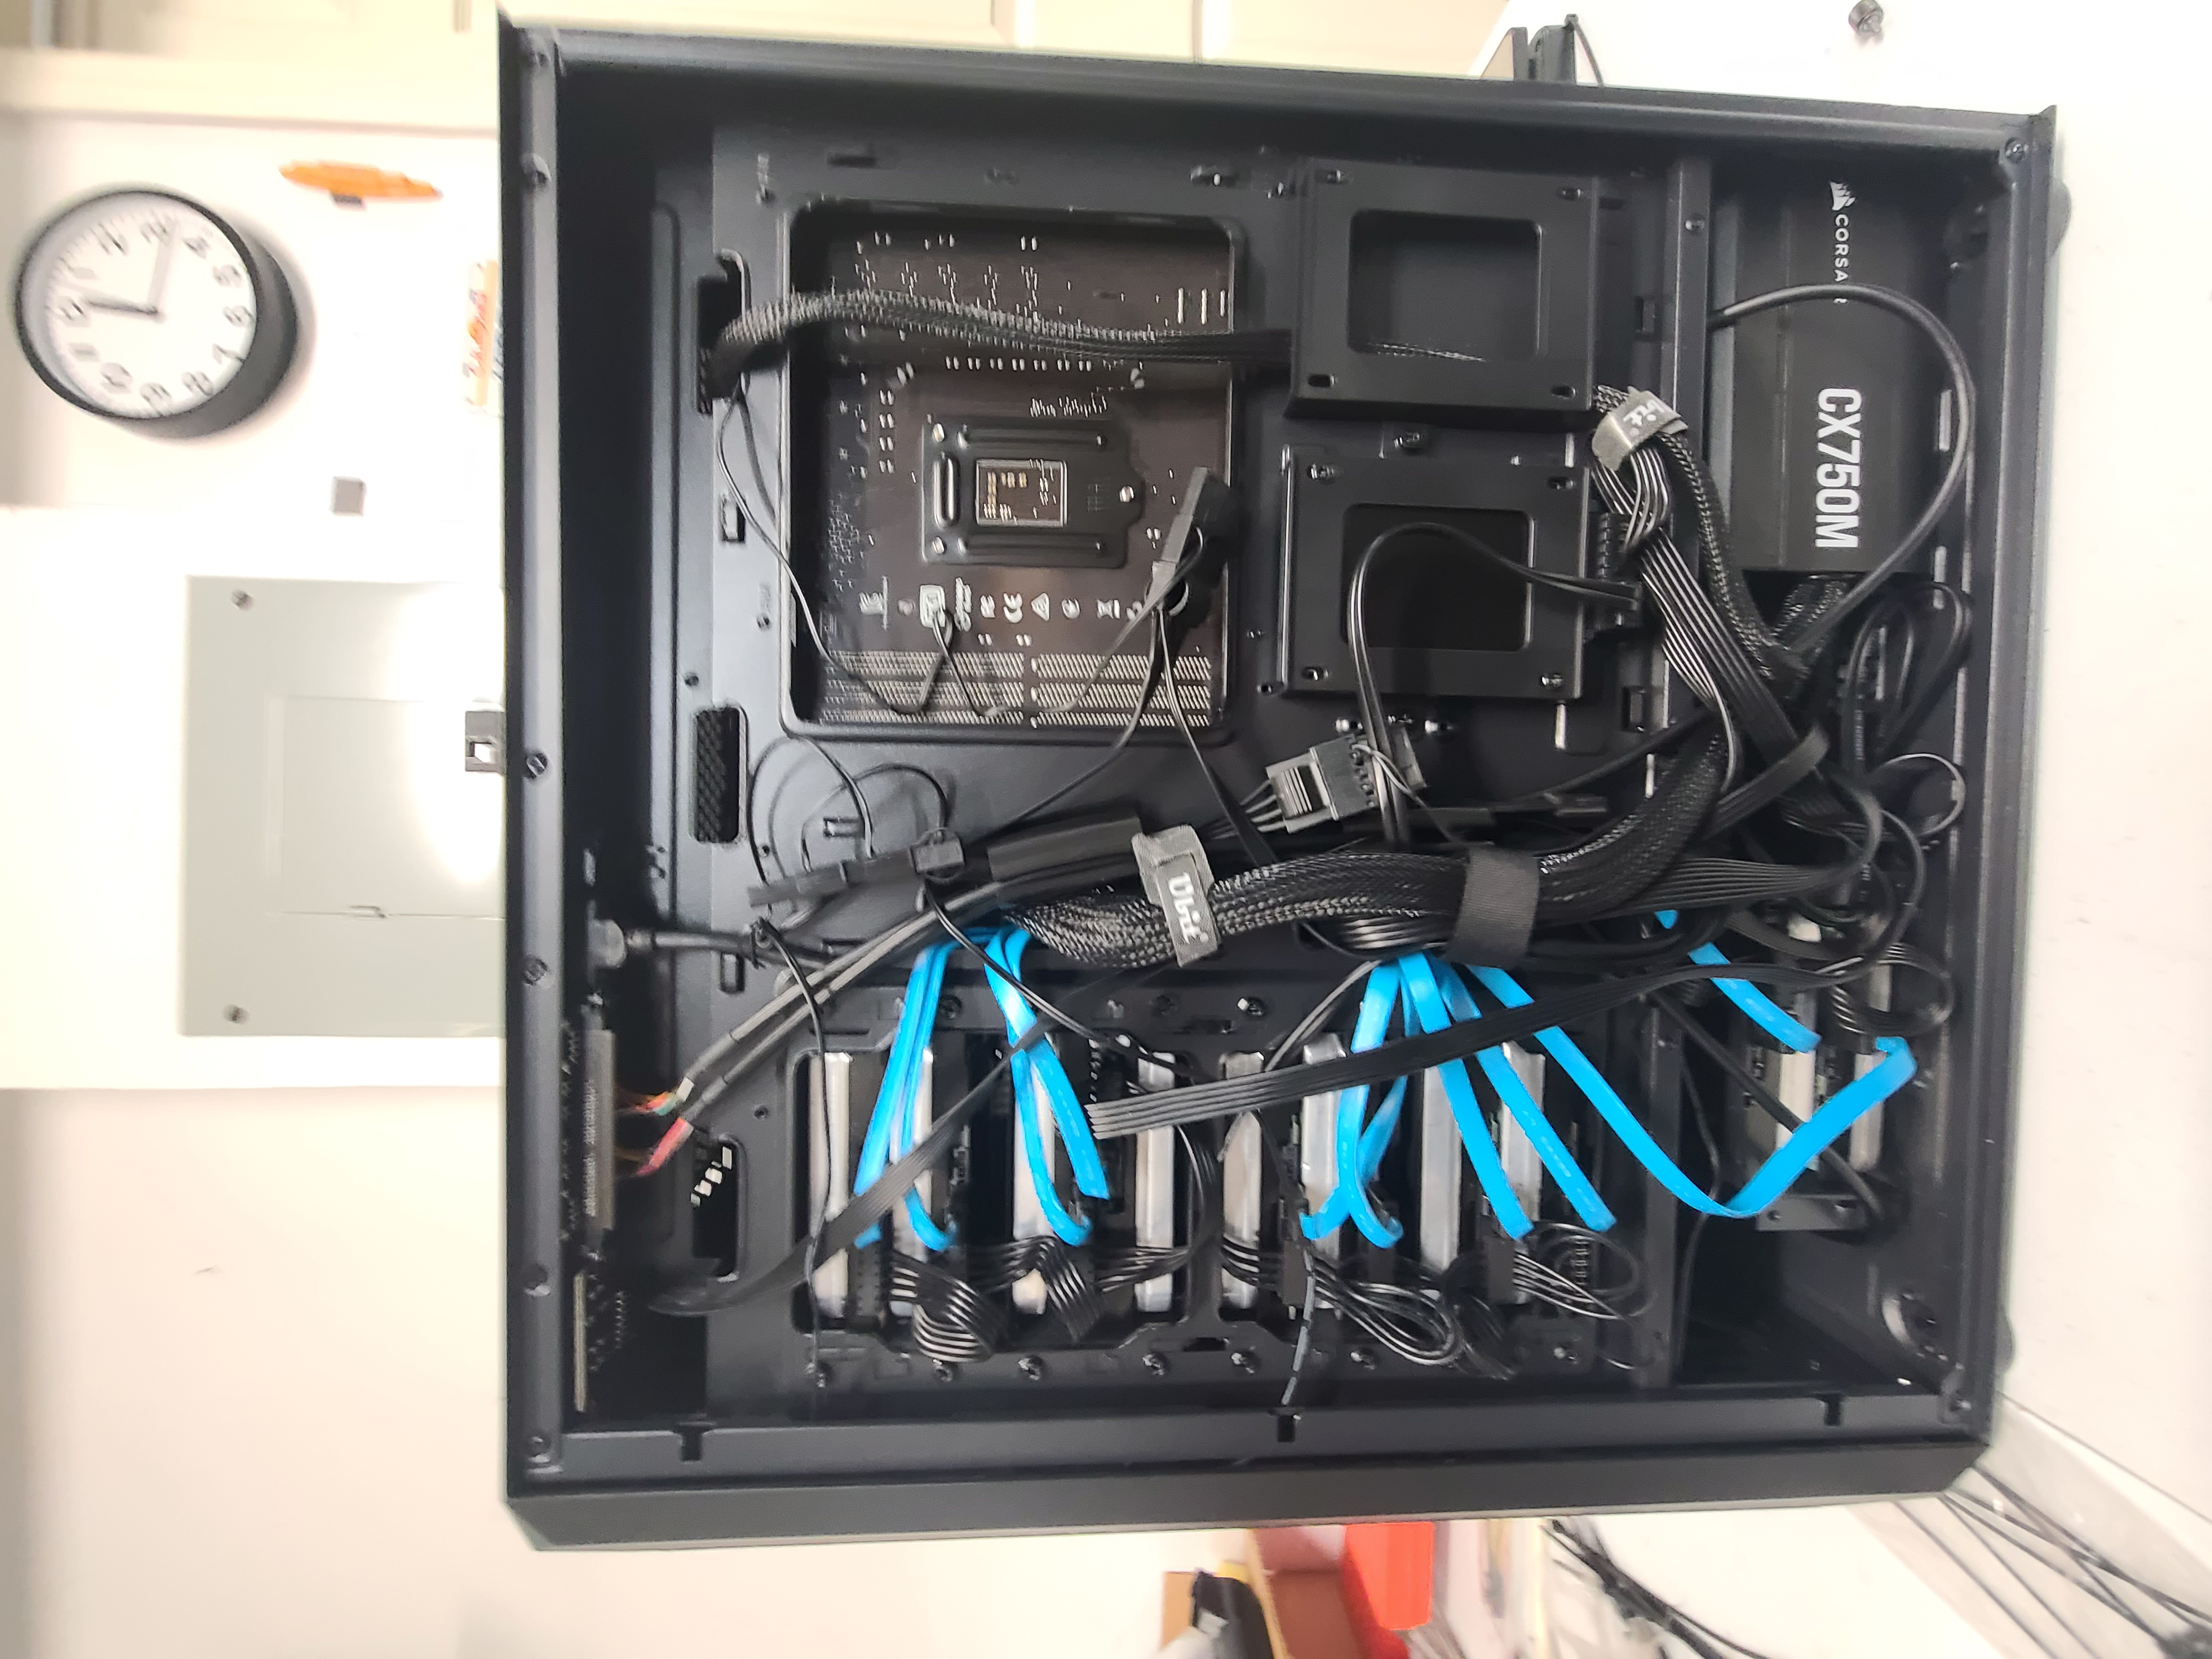
Hardware Components
Most of the components, except for the HDD and PSU, were repurposed from my GPU mining setup. I found a good deal on SSDs in bulk on eBay. Prices listed are based on market rates as of July 2023.
Core Parts
- ■ CPU: Intel i3 - 9100F ($120)
- ■ Motherboard: Asus Prime Z390-P ($115)
- ■ RAM: Corsair Vengeance LPX 8GB ($25)
- ■ SSD: 128 GB SSD ($9)
- ■ GPU: 1660 Super (Depends on Use Case) ($101)
- ■ PSU: CORSAIR CX-M CX750M 750W Bronze ($63) - Future-proofed
Storage & Enclosure
- ■ HDD: 10x Seagate EXOS X14 14TB Enterprise SATA ($130 each) - CMR preferred over SMR
- ■ Case: Classico PC Case ATX Mid-Tower (10 HDD slots)
- ■ OS: TrueNAS Scale
- ■ Cables: PCIE 1X SATA Card
- ■ UPS: Uninterruptible Power Supply (Highly recommended to prevent hard shutdown damage)

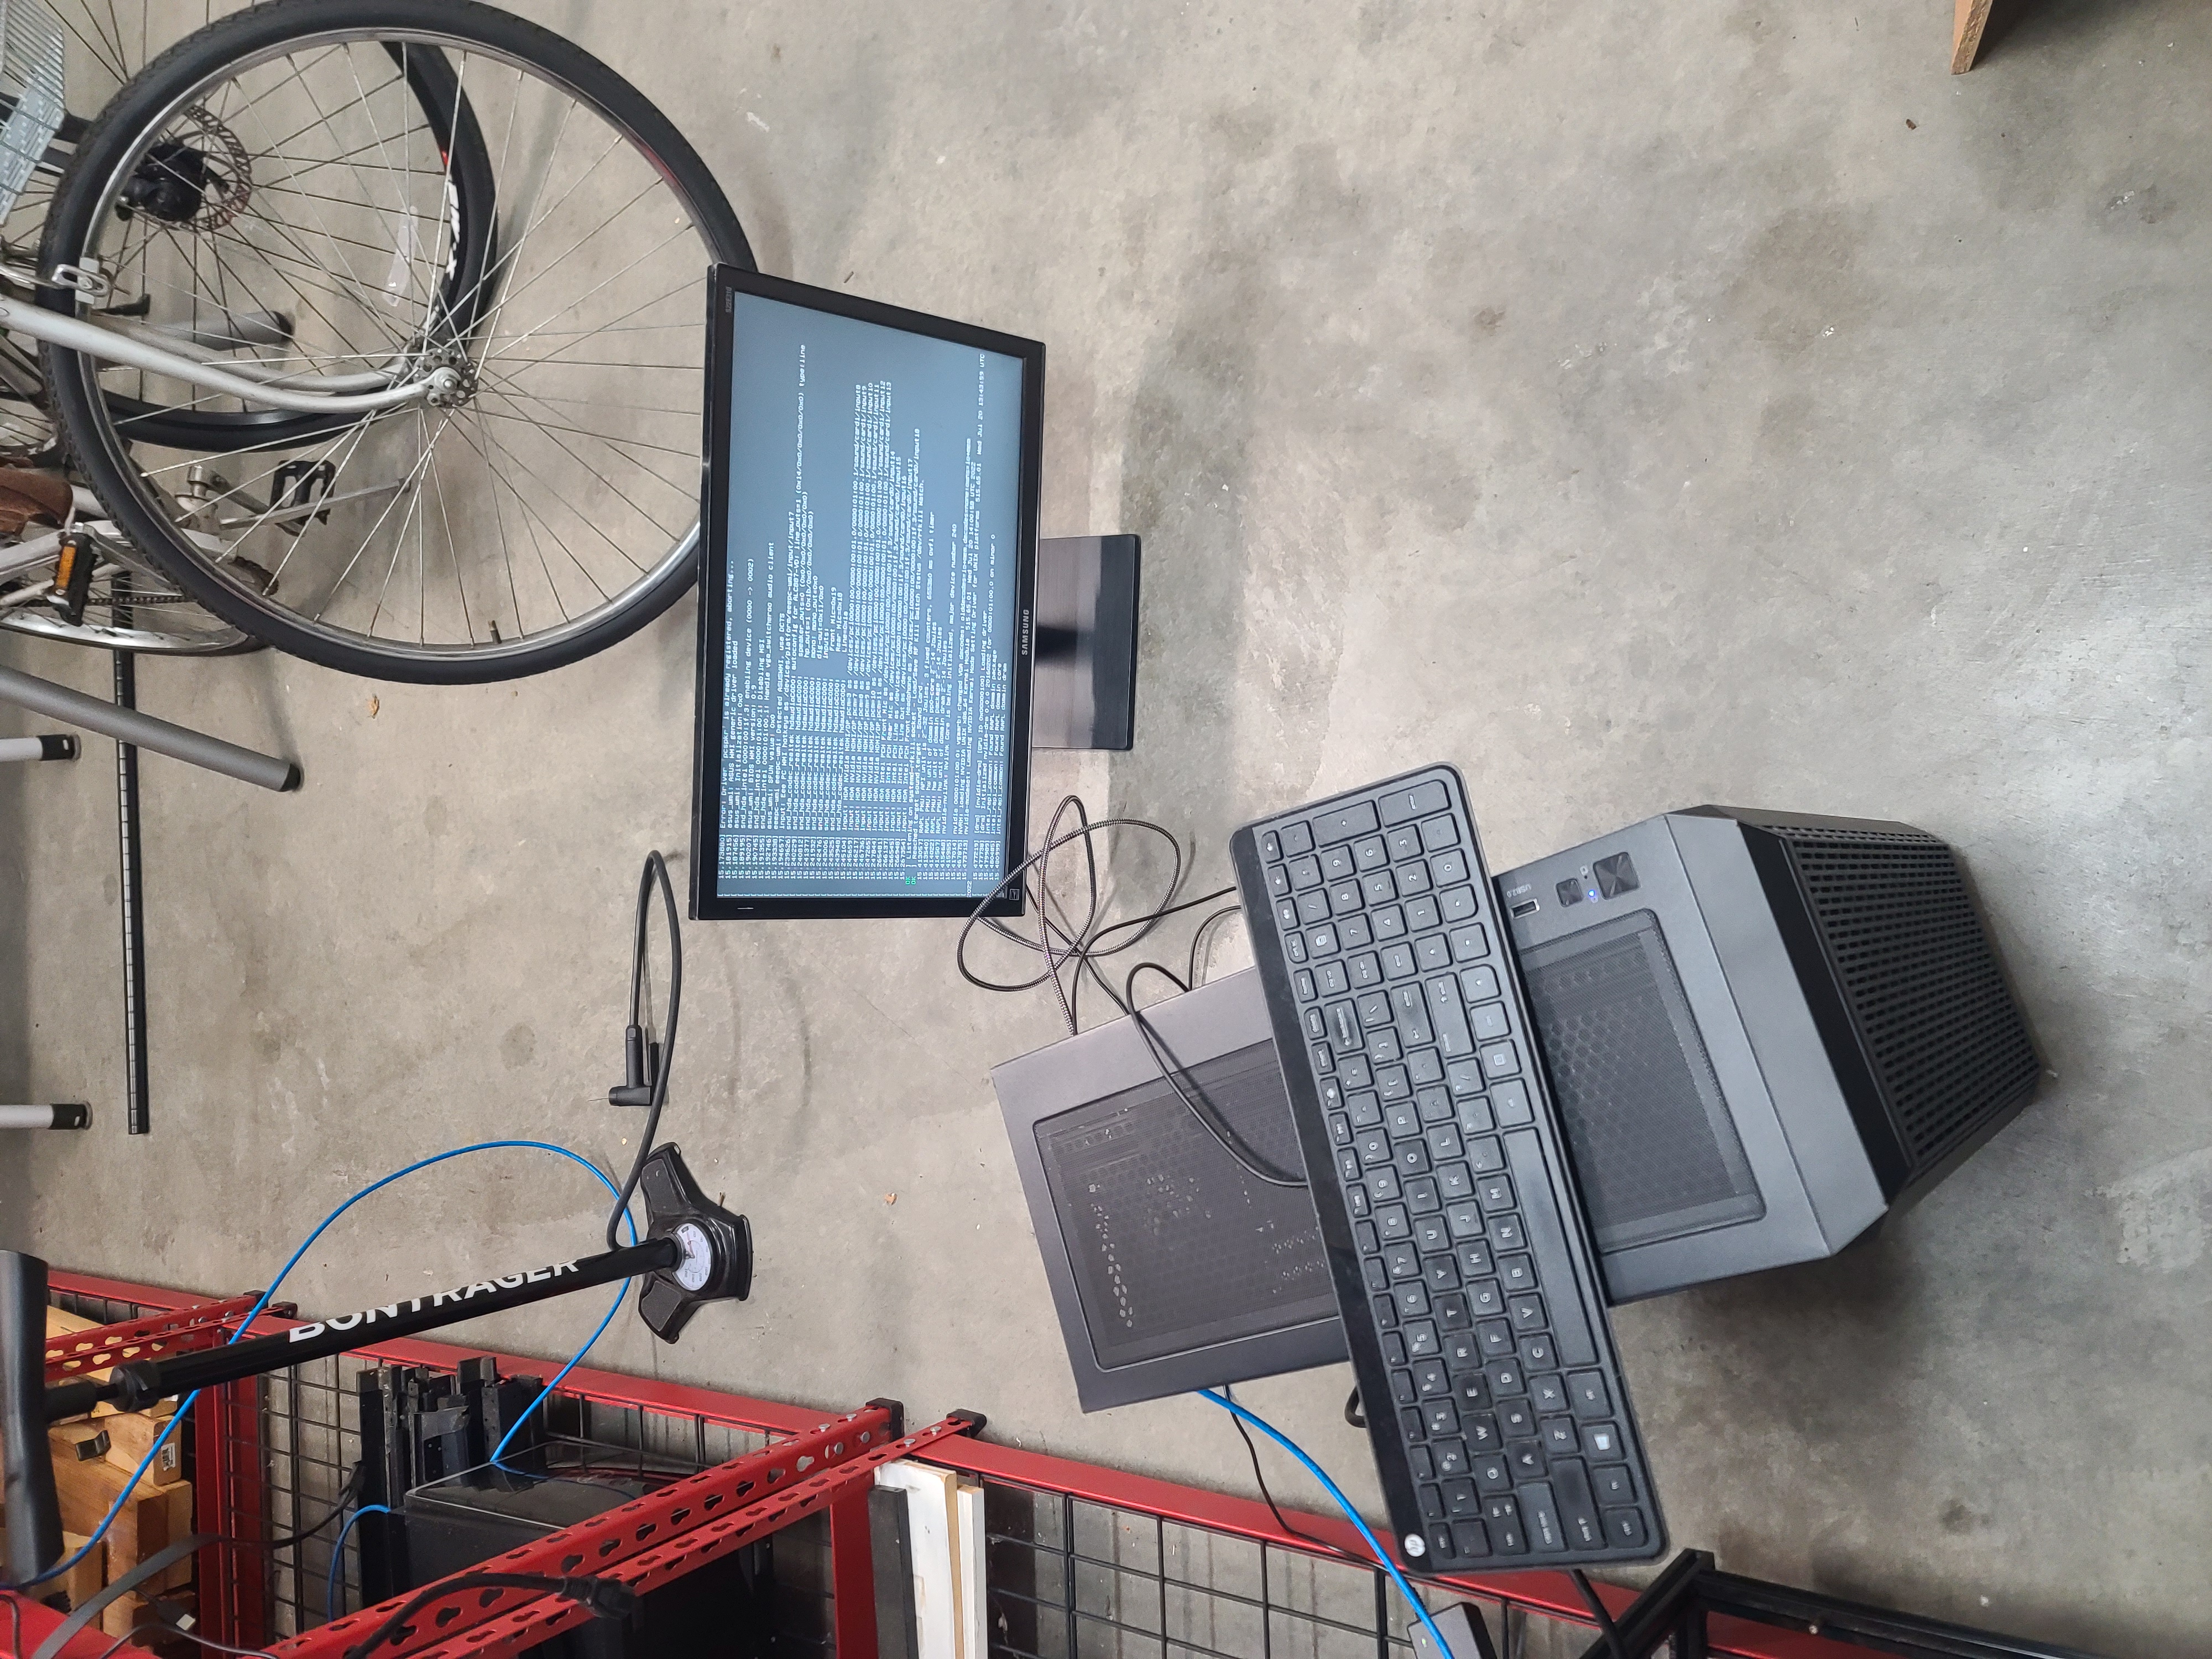
Booting TrueNAS
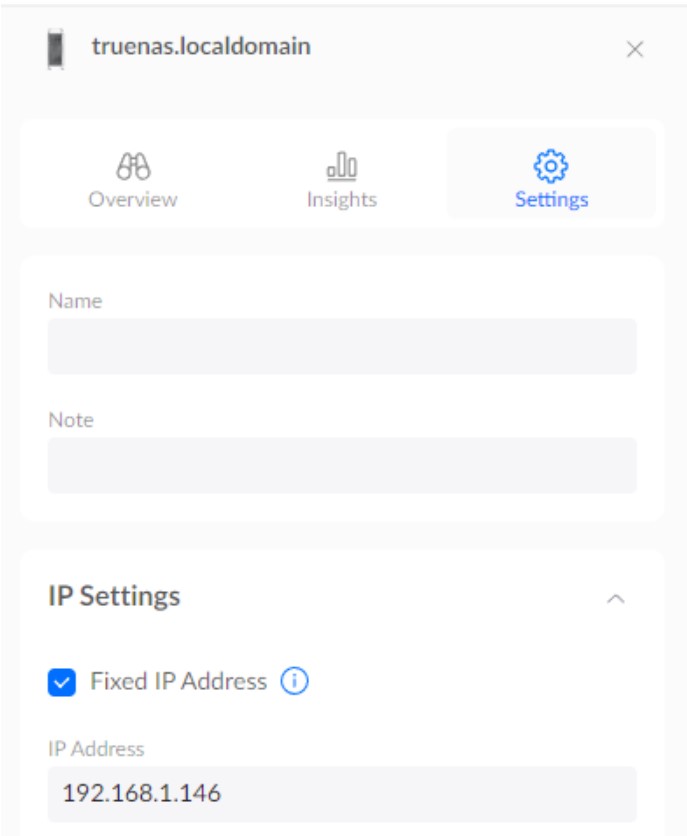
Network & DHCP
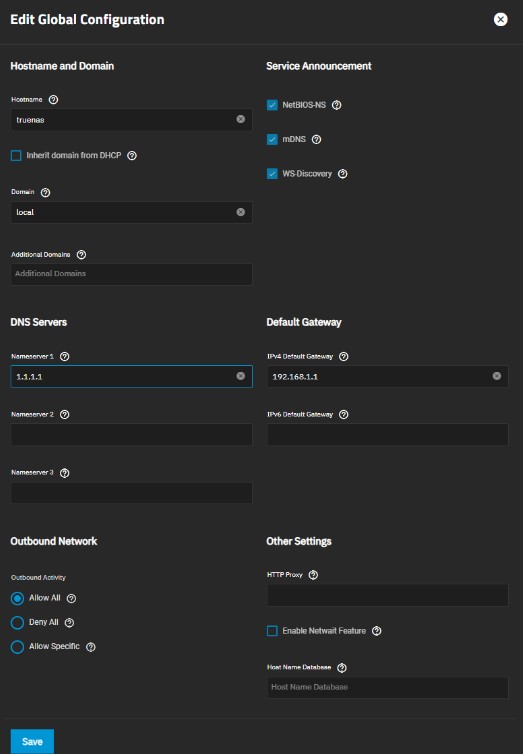
I allocated the NAS to my network through the router’s portal and assigned it a static IP address for convenience. This IP address is used to access the TrueNAS web GUI.
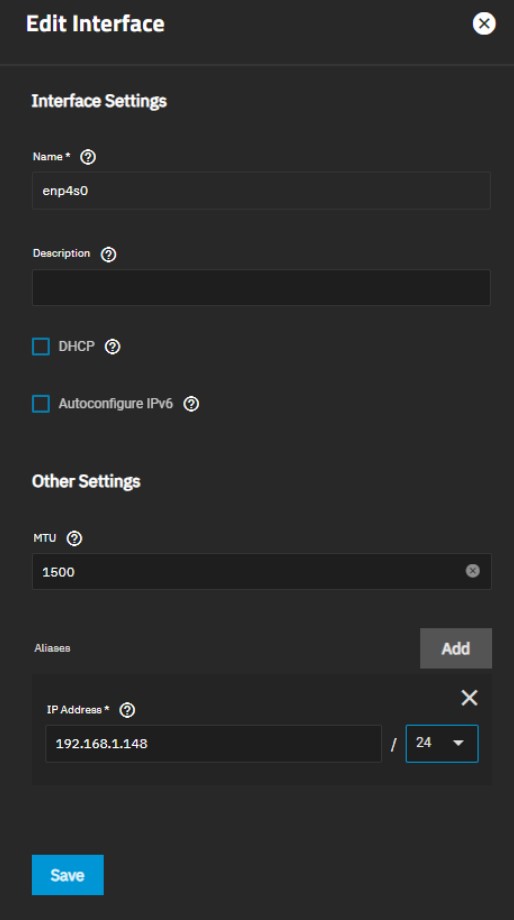
DHCP Configuration
Disable DHCP > Select an Aliases IP address that is unused in the network > Save. Then add the DNS server for name server and default gateway.
TrueNAS Configuration
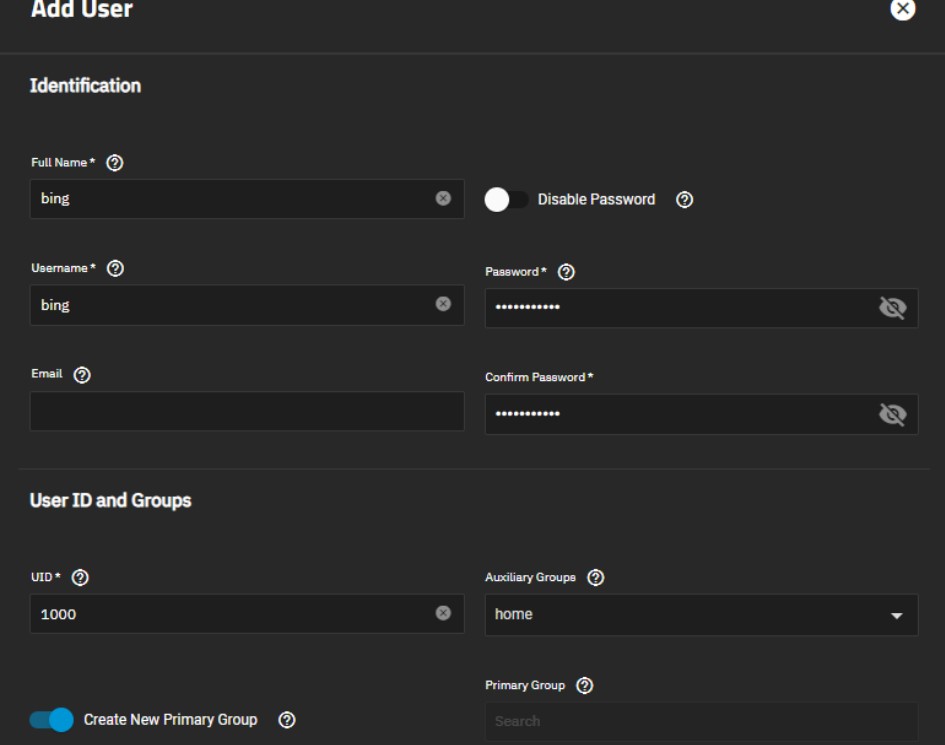
Users & Groups
Groups: Credentials > Local Groups > Add group (e.g., Home) > Turn on Samba authentication > Save.
Users: Credentials > Local Users > Add user info > Assign primary group to the one just created > Save.
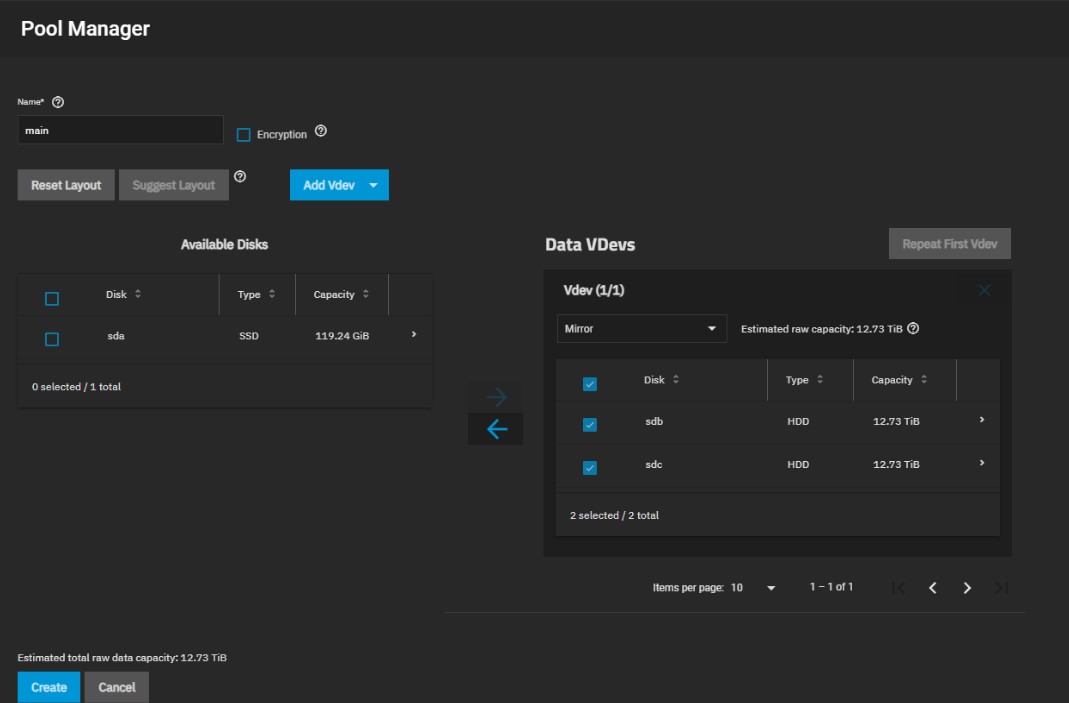
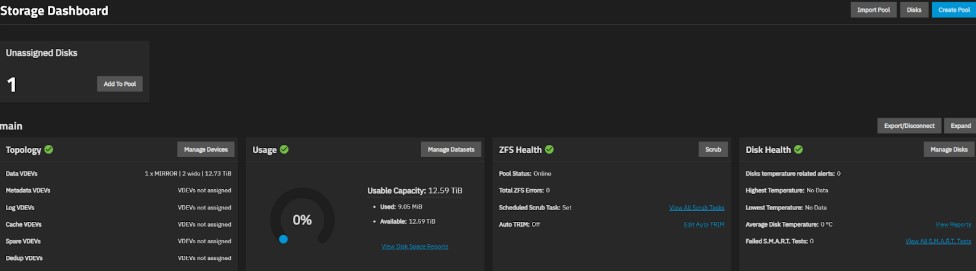
Storage Pool & Dashboard
Storage > Create Pool: I used a Mirror setup. In case one HDD goes down, it can be replaced with the other. Total usable space becomes 12.73 TB per mirror pair. (Ignore the unassigned disk on the dashboard; it’s my boot drive).
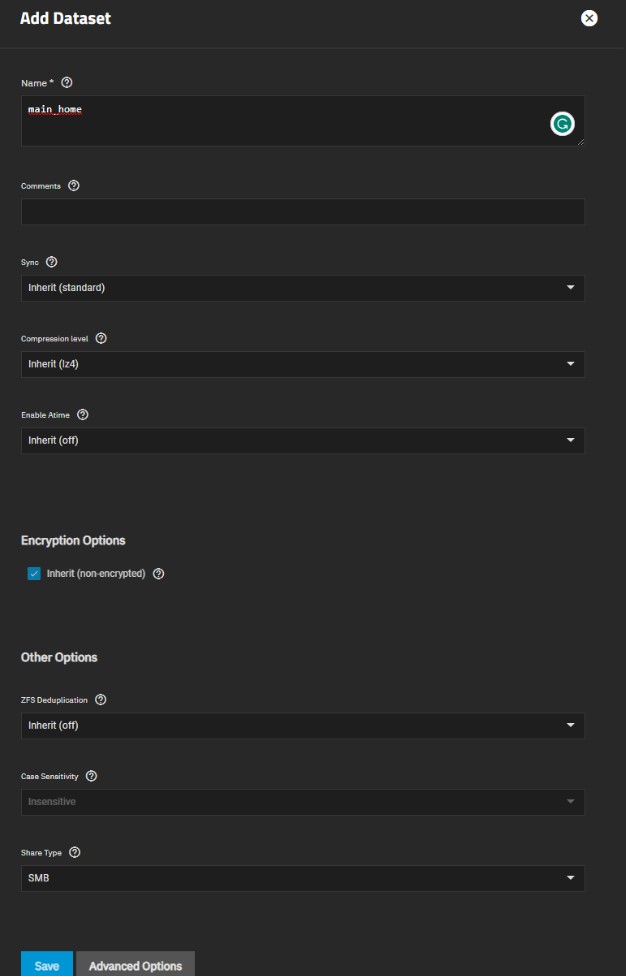
Dataset & Shares (SMB)
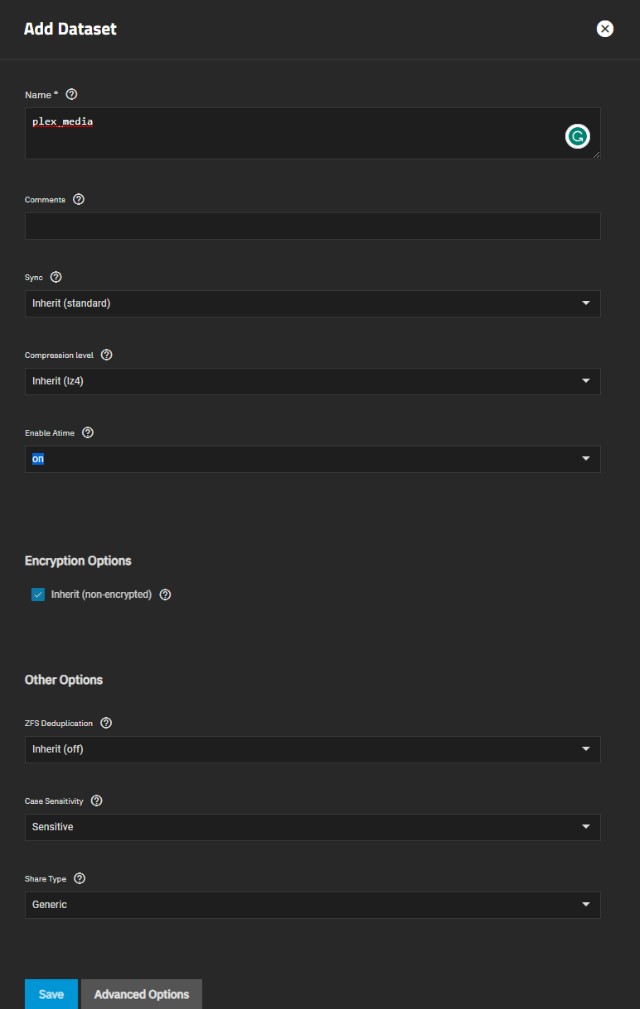
Dataset: Add dataset > Name > Save.
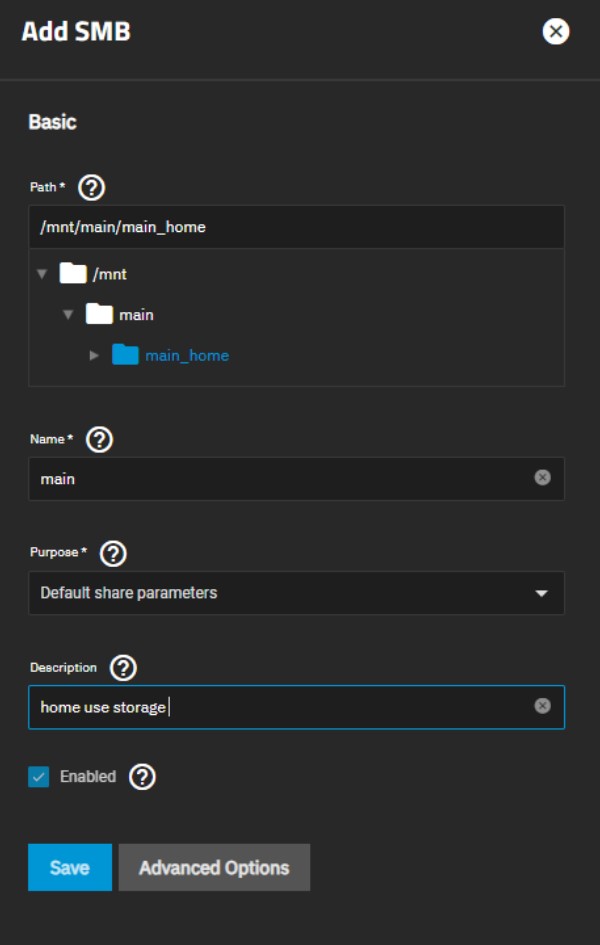
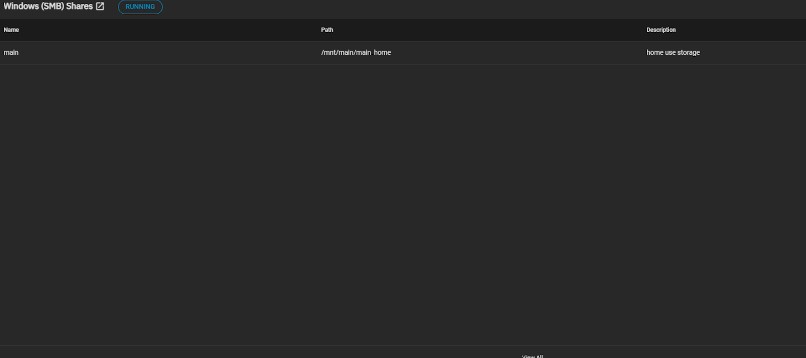
Shares: Shares > Windows (SMB) > Add SMB > Save.
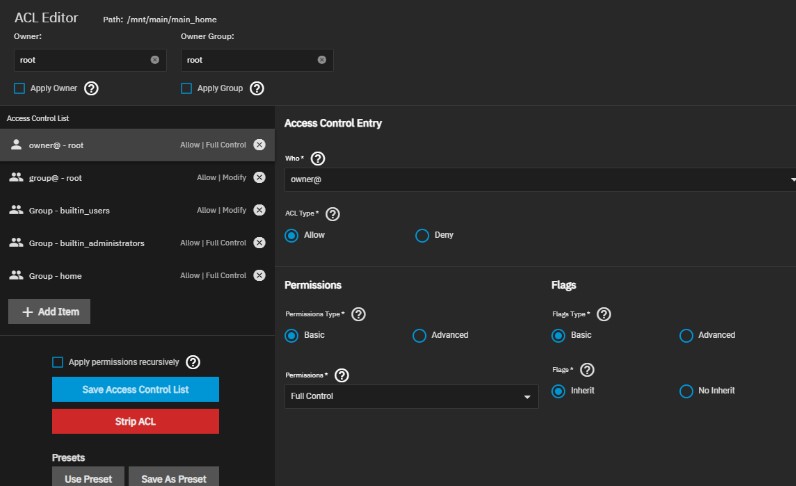
Access Control & Windows Mapping
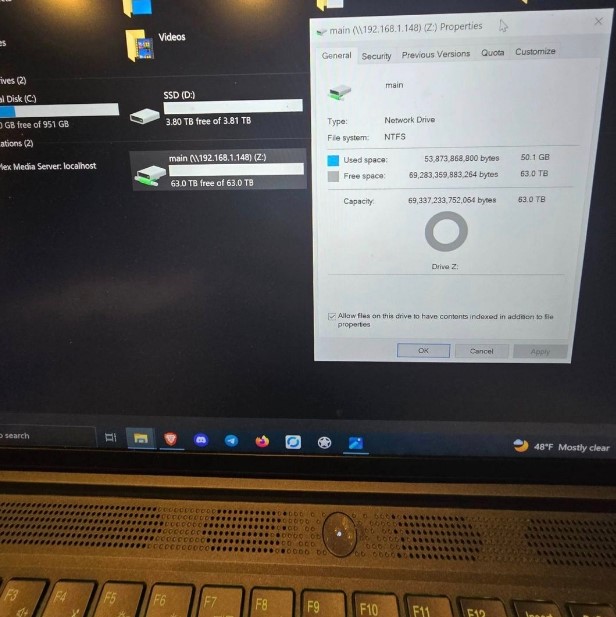
Edit the file system ACL for the SMB share to assign users/groups. Then, find the storage on Windows via File Explorer > Map network drive > \\192.168.1.148\main.
Data Protection
I have ten 14TB HDDs, providing a raw capacity of 140TB. By using a mirrored setup, the usable capacity is halved to 70TB, but each drive acts as a backup against failures. Note: Windows reports capacity differently (binary vs decimal).
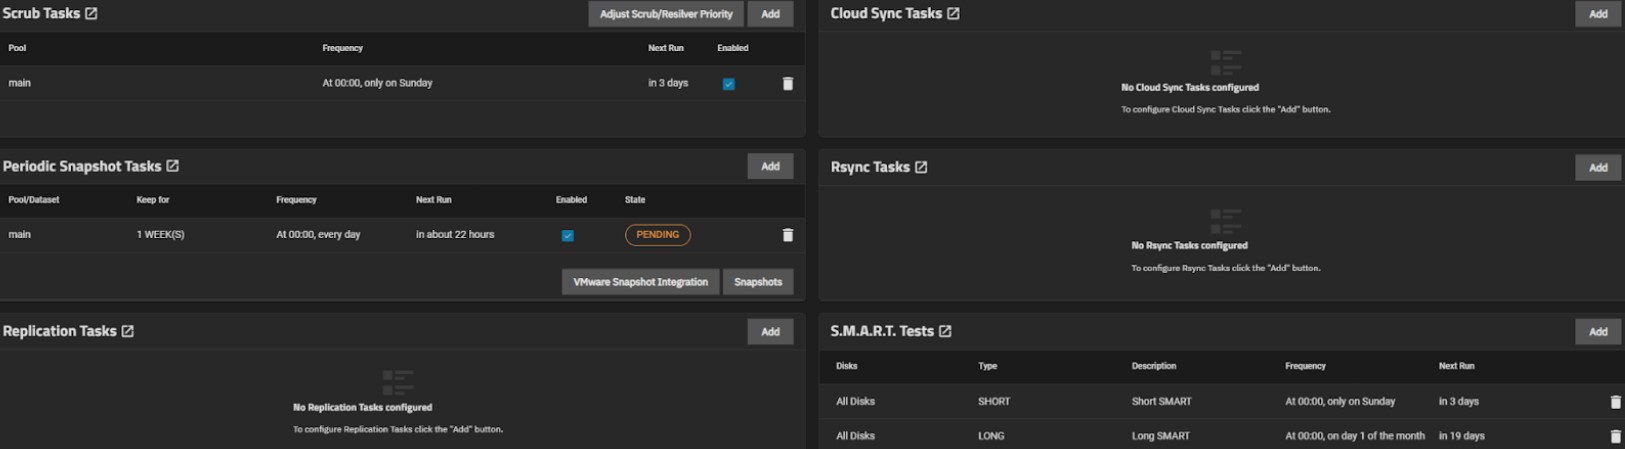
- Backup (Basic): System Settings > Manage configuration > Download file (small file to backup config).
- SMART Tests: Short (weekly), Long (monthly).
- Scrub Tasks: Kept default, running weekly instead of monthly.
- Snapshots: Advanced backup depending on needs.

Plex Media Server
Integrated directly into the NAS system using TrueNAS apps. An added GPU helps with hardware transcoding.
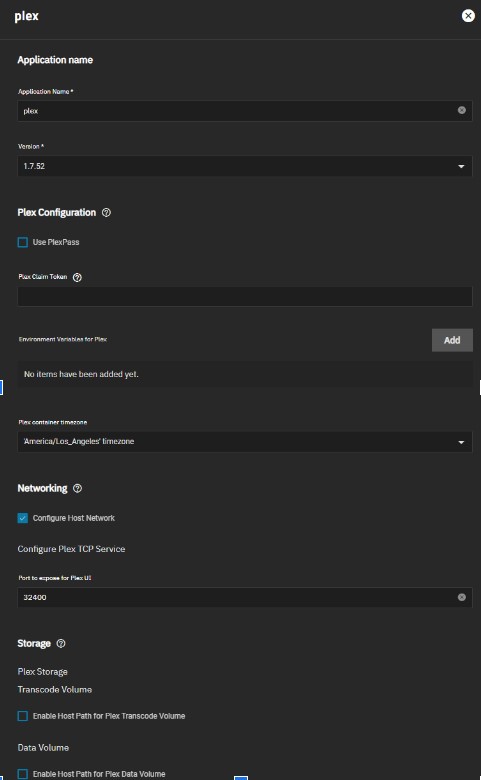
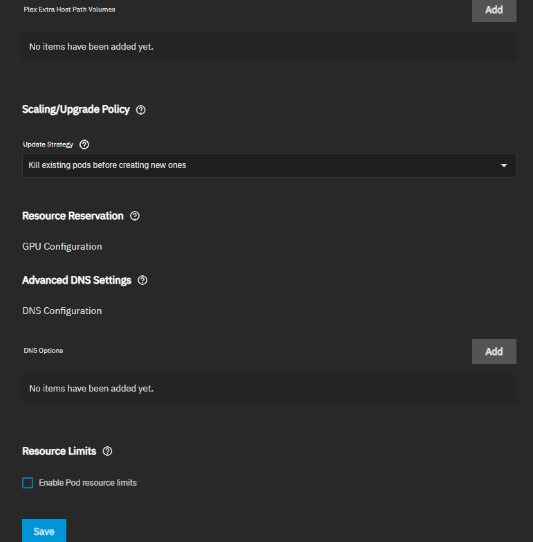
Installation & Setup
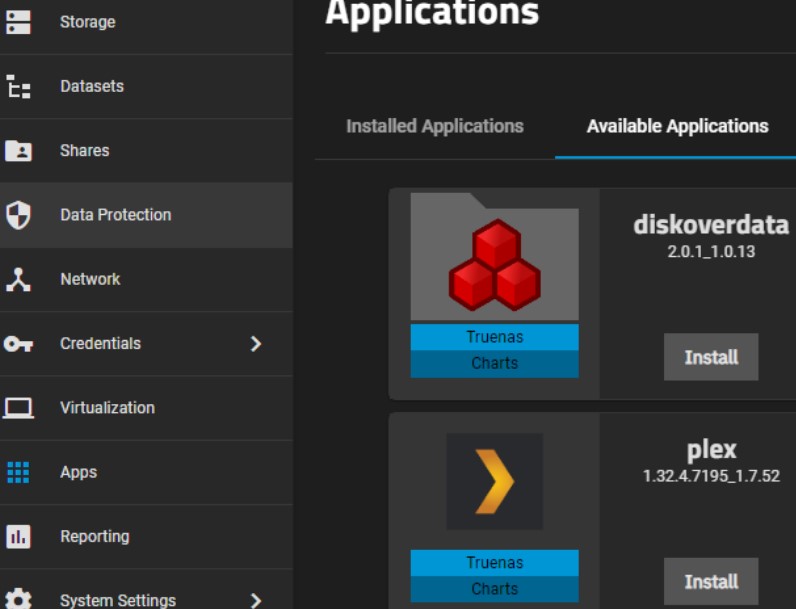
Claim code from Plex, create a dataset for Plex, and install the app from the TrueNAS Apps page.
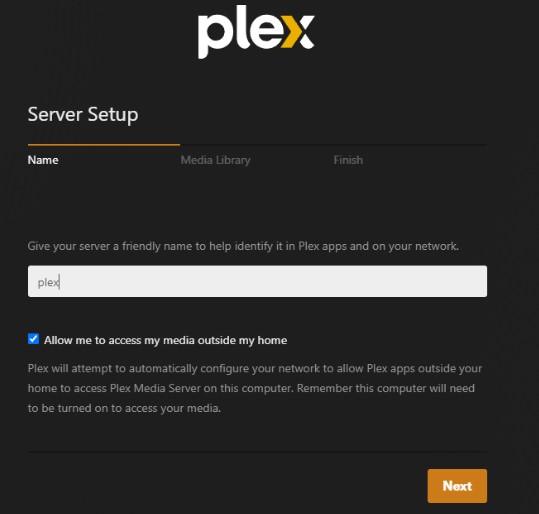
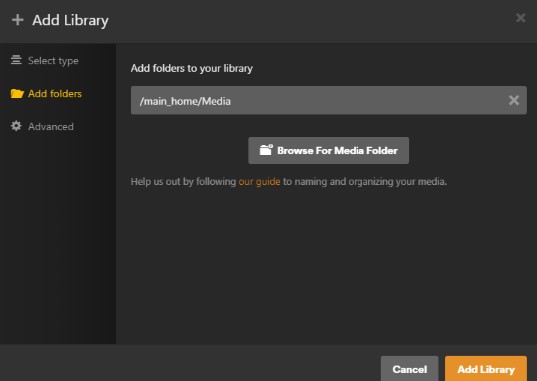
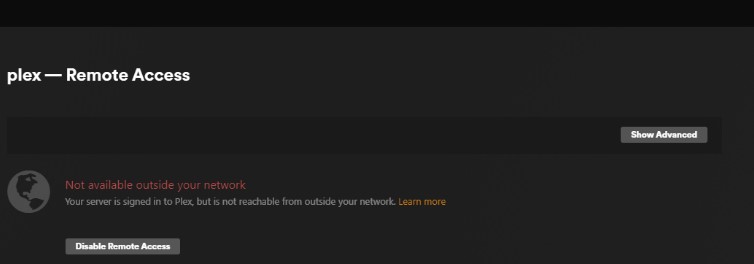
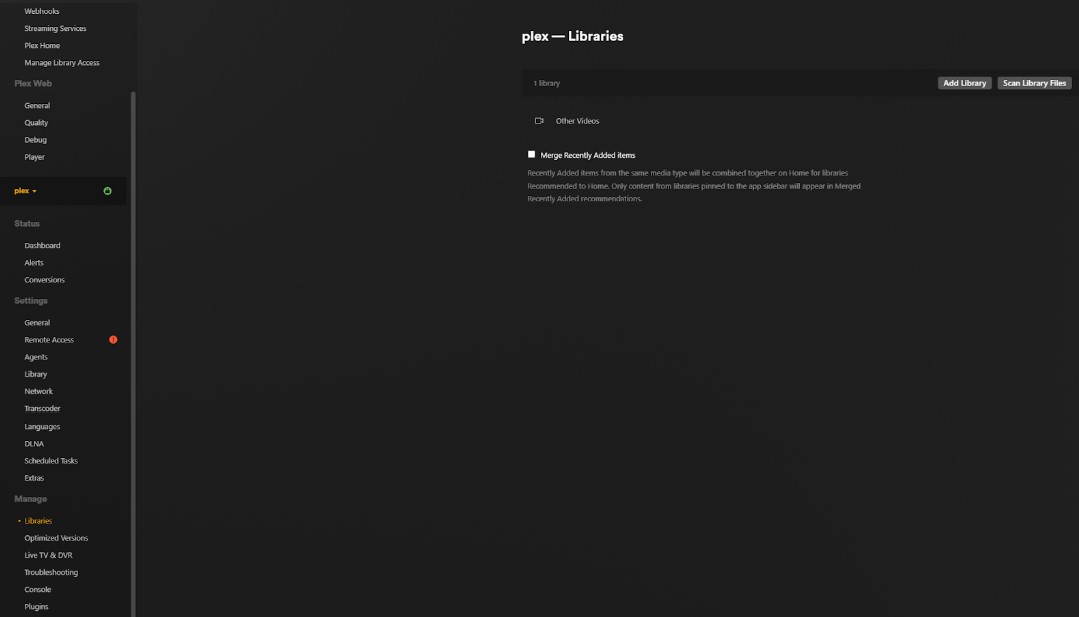
Remote Access & Library
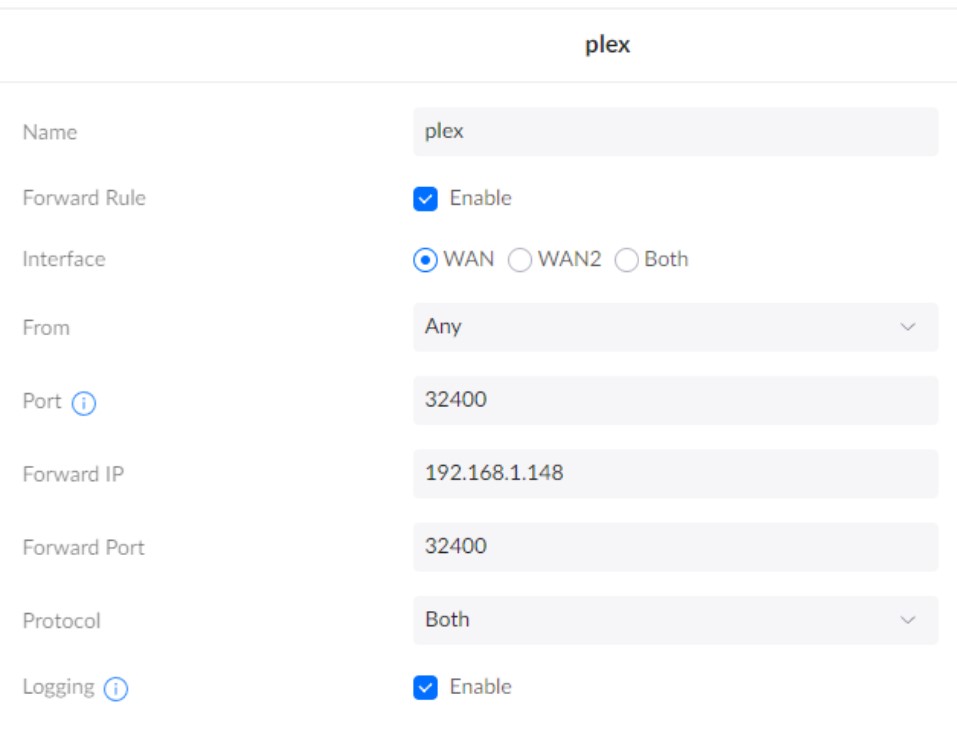
Setup a static IP and configure port forwarding in the router (UniFi settings) to enable remote access outside the network. Finally, add libraries for movies, shows, and photos.
Project Summary
This 70TB build cost $1,800, providing massive storage for family media and a private media library. While replacing our $99/year Google storage plan alone suggests a long ROI, the math changes completely when you consider the modern "streaming tax."
The Real ROI
By hosting our own media, we can offset the rising costs of digital subscriptions. In 2026, the average US household spends:
- $52 per month ($624/year) on video streaming services alone.
- $219 per month on total digital subscriptions (cloud, music, apps) due to "subscription creep."
Cost Analysis
Total estimated build cost, utilizing repurposed parts from a previous GPU mining rig.
Provides 70TB of mirrored, usable storage for the entire household.